Handyman Contract Sample For Homeowners
Here’s an HTML formatted guide on handyman contracts for homeowners:
Handyman Contract: A Homeowner’s Guide
Hiring a handyman can be a lifesaver for tackling those odd jobs around the house, from leaky faucets to drywall repairs. However, to protect yourself and ensure a smooth project, a well-written handyman contract is essential. This guide will walk you through the key elements of a handyman contract sample tailored for homeowners.
Why You Need a Handyman Contract
A contract provides clarity and protection for both you (the homeowner) and the handyman. It outlines the scope of work, payment terms, timeline, and other crucial details, minimizing the potential for misunderstandings, disputes, and financial surprises. Without a contract, you risk:
- Scope Creep: The job expanding beyond what you initially agreed upon, leading to increased costs.
- Poor Quality Work: Lack of clear expectations can result in subpar workmanship.
- Payment Disputes: Disagreements over the final bill due to unclear pricing or changes in the project.
- Unfinished Projects: Handyman abandoning the job before completion.
- Liability Issues: Unclear responsibility for damages or injuries during the project.
Key Elements of a Handyman Contract Sample
A comprehensive handyman contract should include the following sections:
1. Contract Basics: Identification and Dates
- Parties Involved: Clearly state the full legal names and addresses of both the homeowner and the handyman/handyman company.
- Contract Date: The date the contract is signed and becomes effective.
- Project Address: The address where the work will be performed.
2. Scope of Work: Defining the Project
This is arguably the most important section. It should detail *exactly* what tasks the handyman will perform. Be specific and avoid vague language.
- Detailed Description: Break down each task into specific steps. For example, instead of “Repair bathroom faucet,” specify “Remove old bathroom faucet, install new [Brand/Model] faucet (provided by homeowner), ensure proper water flow and leak-free connection, dispose of old faucet.”
- Materials: Clearly state who is responsible for providing materials (homeowner or handyman). List specific materials where possible (e.g., “Homeowner will provide 1 gallon of [Brand/Color] paint for living room walls”).
- Exclusions: Explicitly state what is *not* included in the scope of work. This prevents assumptions and potential disputes later. For example, “This contract does not include painting the ceiling or replacing the bathroom vanity.”
- Permits: State who is responsible for obtaining any necessary permits. Often, minor handyman work doesn’t require permits, but clarify this point. If permits are required, detail the process.
- Change Orders: Explain the procedure for handling changes to the scope of work after the contract is signed. Include a statement that any changes must be documented in writing and signed by both parties, along with any adjustments to the price or timeline.
3. Payment Terms: Setting the Price and Schedule
- Total Contract Price: State the agreed-upon total price for the entire project.
- Payment Schedule: Outline the payment schedule. Common options include:
- Upfront Deposit: A percentage of the total price paid upfront (e.g., 25% – 50%) to cover material costs or initial labor. State when this deposit is due.
- Milestone Payments: Payments made upon completion of specific phases of the project. Define these milestones clearly. For example, “Payment of $X due upon completion of drywall repair and sanding.”
- Final Payment: The remaining balance due upon completion of all work to the homeowner’s satisfaction.
- Payment Methods: Specify acceptable payment methods (e.g., cash, check, credit card).
- Late Payment Fees: Outline any penalties for late payments.
- Cost Overruns: Describe how cost overruns will be handled. Ideally, the contract should require the handyman to obtain your approval *before* incurring any additional costs beyond a specified threshold (e.g., 10% of the original price). Include a change order process as mentioned above.
4. Timeline: Project Start and Completion Dates
- Start Date: The date the handyman will begin work.
- Estimated Completion Date: An estimated date for project completion. Acknowledge that this is an estimate and may be subject to change due to unforeseen circumstances (e.g., weather, material delays).
- Working Days/Hours: Specify the days and hours the handyman will be working.
- Delays: Address how delays will be handled, especially if they are caused by factors beyond the handyman’s control.
5. Insurance and Licensing
- Liability Insurance: Require the handyman to provide proof of liability insurance. This protects you if the handyman or their employees are injured on your property or cause damage. Specify the minimum coverage amount required.
- Workers’ Compensation Insurance: If the handyman employs others, require proof of workers’ compensation insurance. This protects you from liability if one of their employees is injured on your property.
- Licensing: Check if the handyman is required to be licensed in your state or locality. If so, verify their license is current and active. Include their license number in the contract.
6. Warranty: Guaranteeing the Work
- Warranty Period: Specify the length of the warranty period (e.g., 30 days, 6 months, 1 year).
- Scope of Warranty: Clearly define what the warranty covers. For example, “The handyman warrants that the work performed will be free from defects in workmanship for a period of [duration].”
- Exclusions: State any exclusions to the warranty (e.g., damage caused by misuse, normal wear and tear, acts of God).
- Procedure for Warranty Claims: Outline the process for making a warranty claim.
7. Termination Clause
- Conditions for Termination: Describe the circumstances under which either party can terminate the contract (e.g., breach of contract, failure to perform work according to specifications, abandonment of the project).
- Consequences of Termination: Specify the consequences of termination, such as the handyman’s obligation to return unused materials or the homeowner’s obligation to pay for work completed up to the point of termination.
8. Dispute Resolution
- Methods of Dispute Resolution: Outline the process for resolving disputes. Common options include:
- Mediation: An attempt to resolve the dispute through a neutral third party.
- Arbitration: A more formal process where a neutral arbitrator makes a binding decision.
- Litigation: Filing a lawsuit in court.
- Governing Law: State which state’s laws will govern the contract.
9. Other Important Clauses
- Clean Up: State the handyman’s responsibility for cleaning up the work area after the project is completed.
- Access to Property: Specify how and when the handyman will have access to the property.
- Subcontractors: State whether the handyman is allowed to use subcontractors. If so, require the handyman to ensure that all subcontractors are properly licensed and insured.
- Entire Agreement: A clause stating that the contract represents the entire agreement between the parties and supersedes any prior agreements or understandings.
10. Signatures
- Signature Lines: Include signature lines for both the homeowner and the handyman, along with printed names and dates.
Tips for Using a Handyman Contract Sample
- Customize the Contract: Use a handyman contract sample as a starting point, but tailor it to your specific project.
- Read Carefully: Read the entire contract carefully before signing it.
- Ask Questions: Don’t hesitate to ask the handyman to explain anything you don’t understand.
- Get Legal Advice: For larger or more complex projects, consider consulting with an attorney to review the contract.
- Keep a Copy: Keep a signed copy of the contract for your records.
By using a well-drafted handyman contract, you can protect yourself, ensure a successful project, and build a positive working relationship with your handyman.
 1650×1275 sample handyman contract printable documents from londonmedarb.com
  400×519 handyman contract printable documents from londonmedarb.com
  1275×1650 handyman contract templates word excel fomats from www.findwordtemplates.com
  1280×1689 handyman contract template sampletemplatess sampletemplatess from www.sampletemplatess.com
 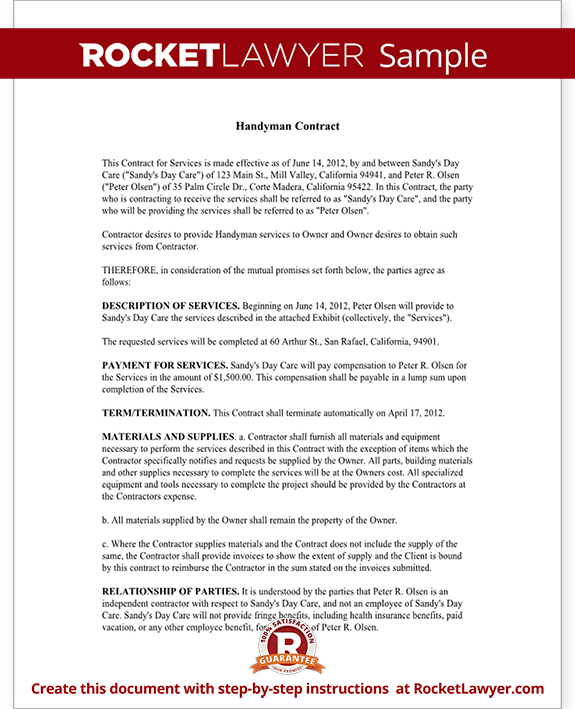 575×709 handyman contract agreement form template sample from www.rocketlawyer.com
  474×529 handyman contracts word excel templates from www.wordexcelsample.com
  640×800 handyman contract sample edit fill sign handypdf from handypdf.com