Daily Expense Log Excel Sheet With Automatic Totals
“`html
Daily Expense Log Excel Sheet with Automatic Totals
Tracking your daily expenses is crucial for effective budgeting and financial management. An Excel sheet provides a simple yet powerful way to monitor where your money is going. This document outlines how to create a user-friendly daily expense log in Excel with automatic totals, making it easy to analyze your spending habits.
Setting Up Your Expense Log
First, open Microsoft Excel or your preferred spreadsheet software. The key is to design a clear and organized layout. Consider the following columns:
- Date: Records the date of each expense.
- Category: Classifies the type of expense (e.g., Food, Transportation, Entertainment).
- Description: Provides a brief explanation of the expense.
- Amount: The monetary value of the expense.
- Payment Method: How the expense was paid (e.g., Cash, Credit Card, Debit Card). (Optional, but useful)
- Notes: Any additional relevant information (Optional).
Begin by entering these column headers in the first row of your spreadsheet (e.g., A1, B1, C1, D1, E1, F1). Adjust the column widths so that the headers and expected data are easily readable. Consider using bold font for the headers to make them stand out.
Detailed Column Breakdown:
- Date:
- Use a date format for this column. Excel offers several date formats (e.g., MM/DD/YYYY, DD/MM/YYYY, YYYY-MM-DD). Choose one that you prefer and is consistent. You can apply the date format by selecting the entire column, right-clicking, and choosing “Format Cells…” Then, select “Date” from the category list and pick your preferred format.
- Category:
- This is a critical column for analysis. Pre-defining your categories ensures consistency and simplifies later analysis. Common categories include:
- Food (Groceries, Dining Out, Coffee)
- Transportation (Gas, Public Transit, Ride-Sharing)
- Housing (Rent/Mortgage, Utilities, Repairs)
- Entertainment (Movies, Concerts, Hobbies)
- Shopping (Clothes, Electronics)
- Health (Medical Expenses, Gym Membership)
- Personal Care (Haircuts, Beauty Products)
- Education (Tuition, Books, Courses)
- Gifts (Birthday Gifts, Holiday Gifts)
- Travel (Flights, Hotels, Vacation Activities)
- Miscellaneous
Consider using a dropdown list for this column (see the section on data validation below). This will ensure that you consistently use the same category names, avoiding typos or variations that can complicate analysis.
- Description:
- This provides context for each expense. Be specific enough to remember what the expense was for, but concise enough to avoid cluttering the spreadsheet. For example, instead of “Food,” use “Grocery shopping at Kroger” or “Lunch at Subway.”
- Amount:
- Use a currency format for this column. Like the date column, you can format the entire column by right-clicking, choosing “Format Cells…”, and selecting “Currency” from the category list. Choose your local currency symbol and the desired number of decimal places.
- Payment Method:
- Tracking how you pay for expenses can also be insightful. It can help you identify areas where you might be relying too heavily on credit cards or where you could potentially earn rewards by using a specific payment method. Consider categories like:
- Cash
- Credit Card (Specify the card if you want to track spending on different cards)
- Debit Card
- Bank Transfer
- Mobile Payment (e.g., PayPal, Venmo)
A dropdown list here can also improve consistency.
- Notes:
- Use this column for any additional details that don’t fit into the other categories. For instance, you might note if an expense was for a work event or if you used a coupon.
Adding Automatic Totals
The real power of using Excel lies in its ability to automatically calculate totals. To calculate the total expenses, use the `SUM` function.
- Select a cell where you want the total expenses to appear (e.g., A2).
- Enter the following formula: `=SUM(D2:D1000)` (assuming your expense amounts start in cell D2 and you anticipate having up to 1000 rows of data). Adjust the range (D2:D1000) as needed to accommodate your data. This formula adds all the values in column D, from row 2 to row 1000.
- Press Enter. The cell will now display the total of all expenses entered in the “Amount” column.
Calculating Category Totals
To get a clearer picture of where your money is going, calculate totals for each expense category. This can be achieved using the `SUMIF` function.
- Create a separate table or area in your spreadsheet to list your expense categories (e.g., Food, Transportation, Housing).
- In the cell next to each category, enter the `SUMIF` formula. For example, to calculate the total spent on “Food,” if your categories are in column B and amounts are in column D, and your category “Food” is in cell G2, the formula would be: `=SUMIF(B2:B1000,G2,D2:D1000)`.
- This formula works as follows:
- `B2:B1000`: The range where the categories are located.
- `G2`: The criteria (the category you want to sum, in this case, “Food” in cell G2).
- `D2:D1000`: The range of amounts to sum if the category matches the criteria.
- Repeat this process for each category, adjusting the cell references accordingly.
Data Validation (Dropdown Lists)
To ensure consistency and accuracy, use data validation to create dropdown lists for the “Category” and “Payment Method” columns. This prevents typos and ensures that you’re using the same terms consistently.
- Select the column where you want to create the dropdown list (e.g., the “Category” column).
- Go to the “Data” tab in the Excel ribbon.
- Click on “Data Validation.”
- In the “Settings” tab of the Data Validation dialog box:
- Under “Allow,” choose “List.”
- In the “Source” box, enter your list of categories (or payment methods), separated by commas (e.g., Food,Transportation,Housing,Entertainment). Alternatively, you can refer to a range of cells that contains your list (e.g., if your categories are in cells G2 to G10, enter `=G2:G10`).
- You can optionally check the “Ignore blank” box if you want to allow blank entries.
- You can also check the “In-cell dropdown” box to display the dropdown arrow.
- Click “OK.”
- Now, when you click on a cell in the “Category” column, a dropdown arrow will appear, allowing you to select from your list of categories.
- Repeat this process for the “Payment Method” column, if desired.
Conditional Formatting (Optional)
Conditional formatting can help you visually identify spending patterns. For example, you can highlight expenses above a certain amount.
- Select the “Amount” column.
- Go to the “Home” tab in the Excel ribbon.
- Click on “Conditional Formatting.”
- Choose “Highlight Cells Rules” and then select “Greater Than…”
- Enter the amount you want to use as the threshold (e.g., 50).
- Choose a formatting style (e.g., fill with red).
- Click “OK.”
- Now, any expense amount greater than 50 will be highlighted in red. You can create other rules for different ranges or conditions.
Creating Charts and Graphs
Excel’s charting capabilities allow you to visualize your spending patterns. Once you’ve entered enough data, you can create charts to see where your money is going.
- Select the table containing your category totals (e.g., the table you created in the “Calculating Category Totals” section).
- Go to the “Insert” tab in the Excel ribbon.
- Choose a chart type (e.g., a pie chart or a bar chart). A pie chart is particularly useful for showing the proportion of your spending in each category.
- Excel will automatically create a chart based on your selected data. You can customize the chart by changing the chart title, adding data labels, and adjusting the colors.
Tips for Effective Expense Tracking
- Be Consistent: Enter your expenses daily or at least a few times a week. The more consistently you track, the more accurate your data will be.
- Be Specific: Provide enough detail in the description to remember what the expense was for.
- Review Regularly: Set aside time each week or month to review your expenses and analyze your spending patterns.
- Customize Categories: Adjust the categories to fit your specific needs and spending habits.
- Backup Your Sheet: Regularly back up your Excel sheet to prevent data loss. Consider using cloud storage services like OneDrive or Google Drive.
Conclusion
Creating a daily expense log in Excel with automatic totals is a simple yet effective way to gain control of your finances. By following the steps outlined above, you can easily track your spending, identify areas where you can save money, and achieve your financial goals. Regularly reviewing your expense log and making adjustments to your budget as needed will lead to improved financial awareness and management.
“`
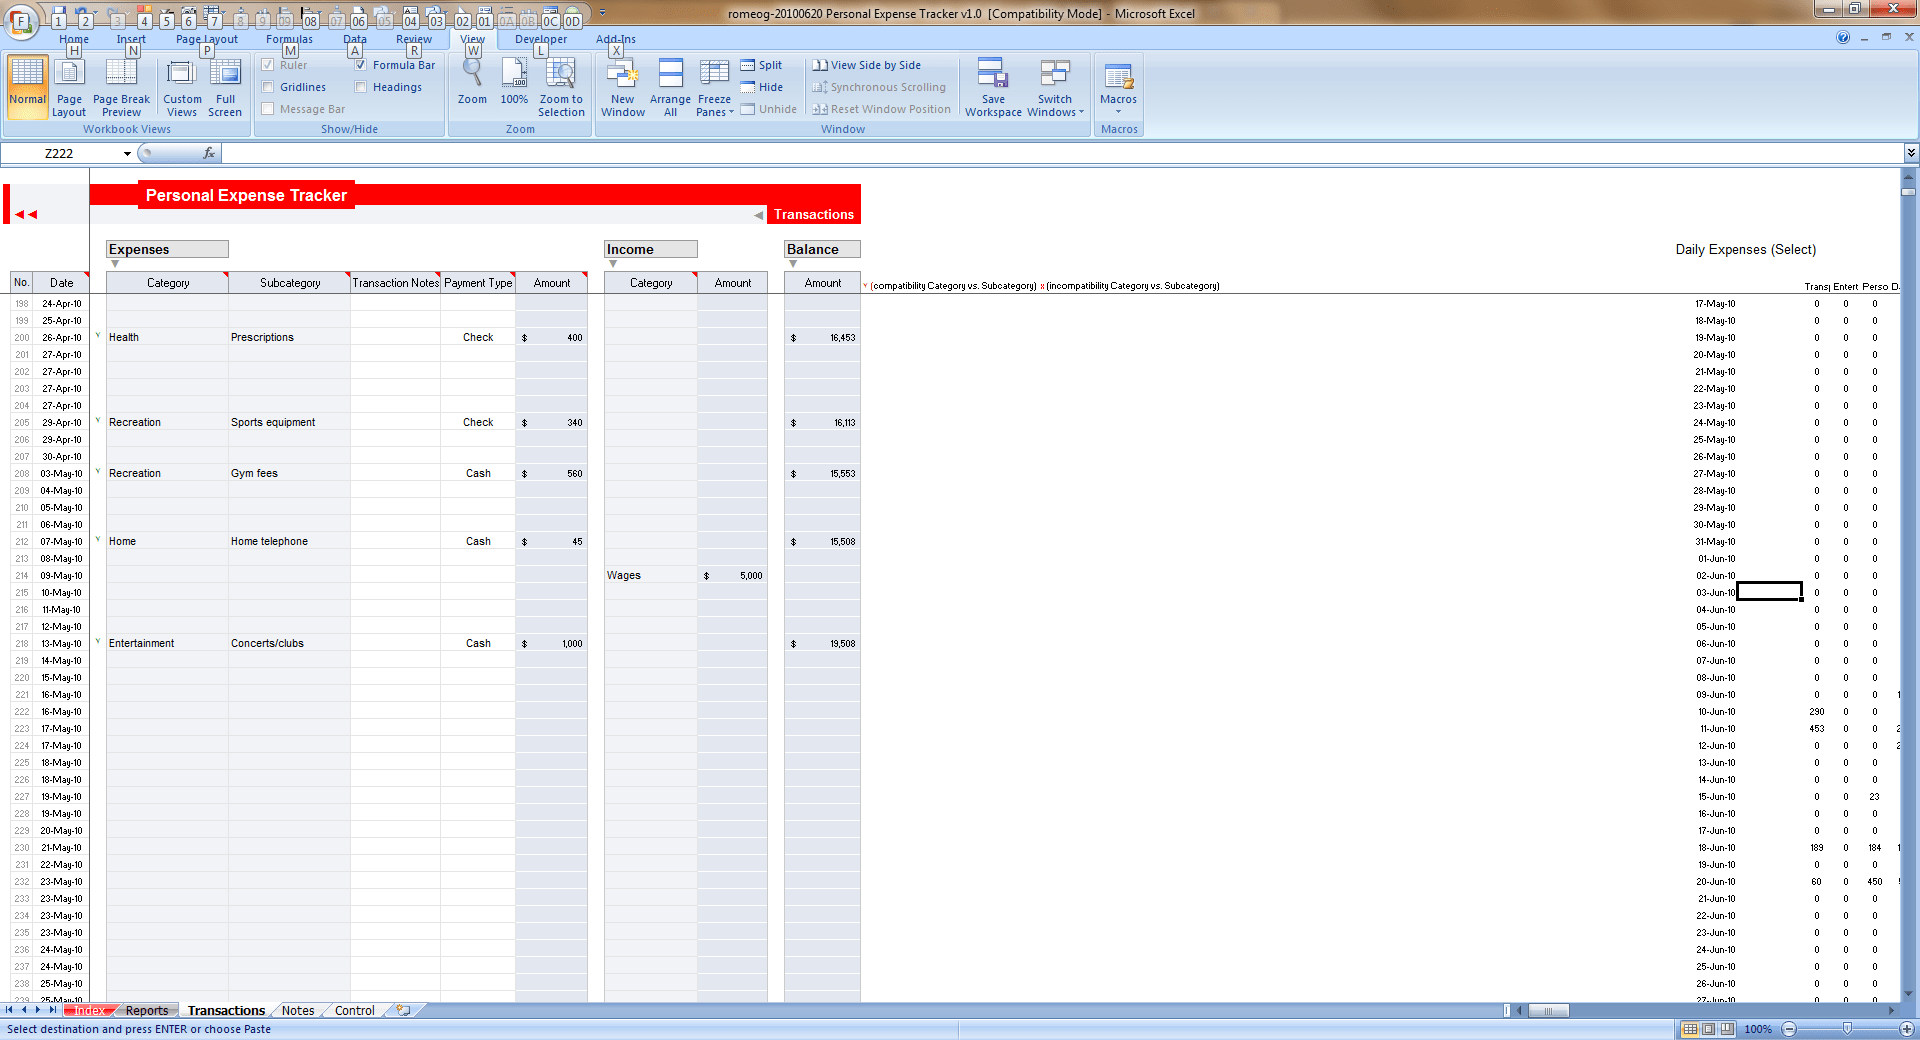 1920×1040 printable expense log db excelcom from db-excel.com
  1587×901 daily expense sheet exceltemplatenet from exceltemplate.net
  1674×897 daily expenses sheet excel format db excelcom from db-excel.com
  800×600 daily expenses sheet excel templates from www.exceltemplates.com
  1724×970 daily expenses sheet excel format laobingkaisuo from db-excel.com
  1724×970 daily expenses spreadsheet intended excel spreadsheet track from db-excel.com
  1275×1650 daily expenses spreadsheet db excelcom from db-excel.com